Fitting Guidance - Wet or Dry Method

There are two main ways to apply vinyl graphics — dry and wet — and the right choice depends on the size of the graphic, the type of surface and the conditions you’re working in. Both methods work well when used correctly. Both fail when the surface is dirty, the temperature is wrong, or the fitting is rushed.
Surface preparation
This is the step that makes the biggest difference to longevity, and the one most people underestimate. The surface needs to be clean, dry and completely free of wax, polish, silicone and grease. A 50/50 mix of isopropyl alcohol and water on a clean cloth is the most reliable way to do this — wipe the area, let it flash off, and don’t touch it with bare hands before fitting. Fingerprints leave oils that prevent the adhesive bonding properly.
If the surface has been recently waxed or polished (common on GRP hulls), clean it twice. Old wax can be invisible but will still compromise adhesion at the edges.
Temperature
Vinyl adhesive works best between 10°C and 25°C. Below 10°C the adhesive loses tack; above 25°C the vinyl becomes too soft to handle accurately. Crucially, it’s the surface temperature that matters, not just the air. A white hull in direct sunlight on a mild day can easily be 15°C hotter than the surrounding air. If the surface feels hot to the touch, move into shade and wait before fitting. See our separate guide on fitting temperature for more detail.
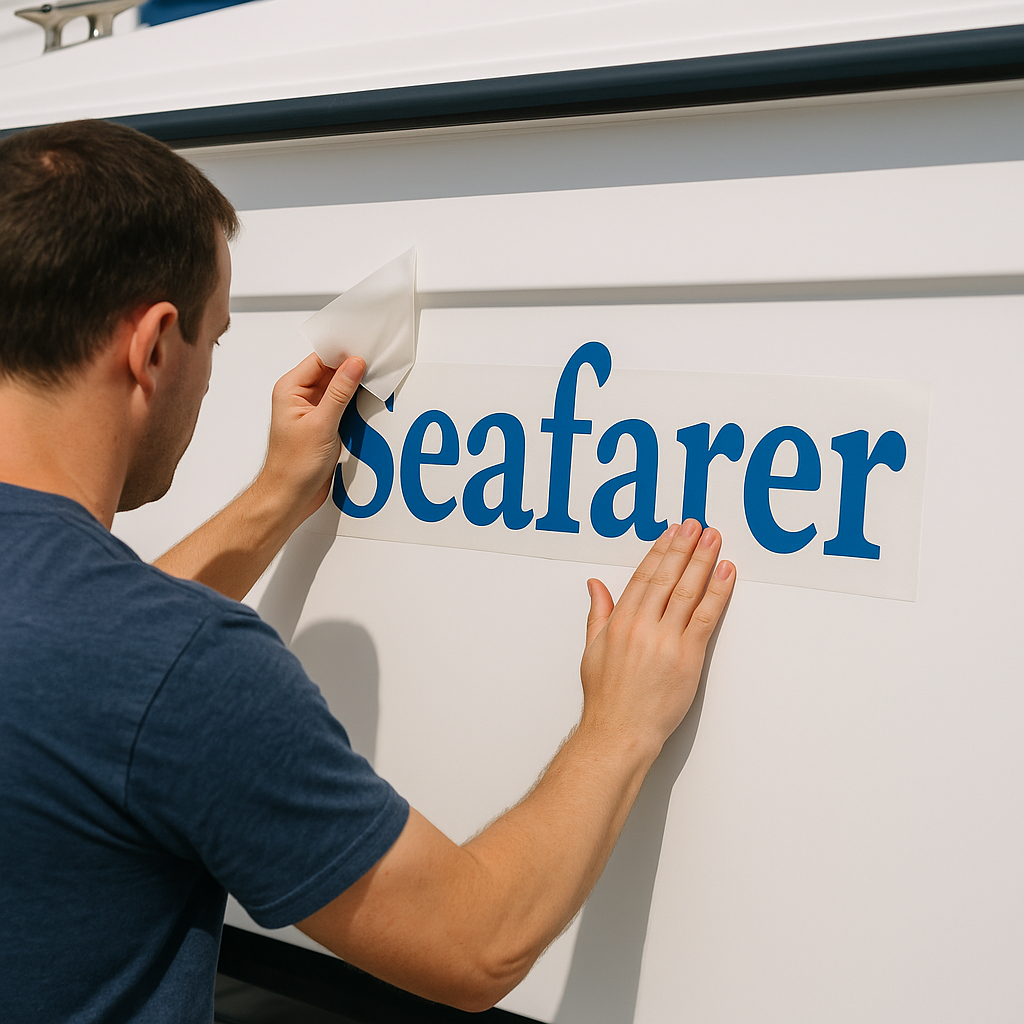
Dry application
The dry method is the right choice for smaller decals, lettering and graphics on flat or gently curved surfaces. It’s faster than wet and gives excellent adhesion in normal conditions.
- Use a strip of masking tape along the top edge of the graphic as a hinge, so it stays in position while you peel the backing.
- Lift the graphic and fold it back, peeling the backing paper away from a small section at one edge.
- Lower the graphic carefully onto the surface and press the exposed section down, working from the centre outwards with a squeegee or bank card.
- Continue peeling the backing and pressing down in sections, keeping steady outward pressure to avoid trapping air.
- Once fully applied, remove the application tape slowly at a shallow angle — pulling back over itself rather than pulling away from the surface.
The main downside of dry application is that it’s unforgiving on large graphics — once a section is down it’s very difficult to reposition without damaging the vinyl.
Wet application
The wet method is better suited to large panels, long runs of lettering and smooth glossy surfaces like GRP, painted steel or glass. The slip solution gives you time to position the graphic accurately before the adhesive grabs.
- Mix a few drops of washing-up liquid into a spray bottle of clean water. You want just enough to reduce surface tension — don’t use too much or the adhesive will take a long time to cure.
- Mist the surface lightly, and optionally the adhesive face of the graphic too.
- Apply the graphic and slide it into position. The slip solution gives you a short window — typically a minute or two — to adjust alignment.
- Once positioned, squeegee firmly from the centre outwards to push out the water and work out any bubbles. Use overlapping strokes and apply firm, even pressure.
- Leave the application tape in place for at least 30–60 minutes before removing — longer in cool conditions. The adhesive needs time to start gripping through the moisture before the tape is peeled.
Don’t use the wet method on textured, matt or porous surfaces — the moisture gets trapped and the adhesive never bonds properly. Stick to dry application on those.
Handling curves and contours
Polymeric vinyl has enough flexibility to follow gentle curves without heating. Work slowly, using firm squeegee pressure, and let the vinyl conform to the surface naturally rather than forcing it. For tighter curves — around a bow, the end of a caravan, or a moulded corner — warm the vinyl gently with a heat gun or hair dryer on a low setting. Warm vinyl becomes noticeably more pliable. Work in small sections, press down firmly and hold for a few seconds while it cools.
If an edge lifts slightly after fitting, reheat it and press it back down while warm. Don’t try to press cold lifted edges — they’ll spring back.
Aftercare
Allow 24–48 hours before washing, and hand-wash only for the first few days. Avoid directing a pressure washer at the edges of the vinyl during this period — the adhesive is still curing and sustained water pressure at close range can lift edges before they’ve fully bonded. After the first week, normal cleaning with mild soapy water is fine. Avoid solvent-based cleaners and abrasive compounds on or near the graphics.
If you have a specific fitting question, get in touch and we’ll help.
About the Author

Related Posts
RYA Training for Boaters: Sea and Inland Waterways
Flag Stickers for Boats, Cars & Caravans
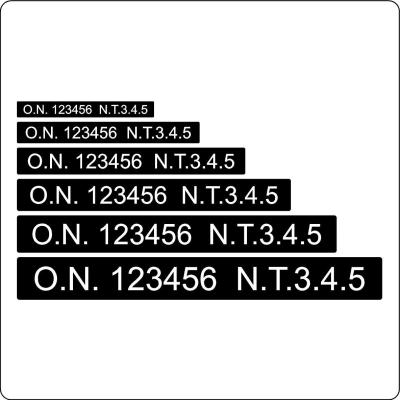
UK Fishing Vessel PLN Marking: A Compliance Guide